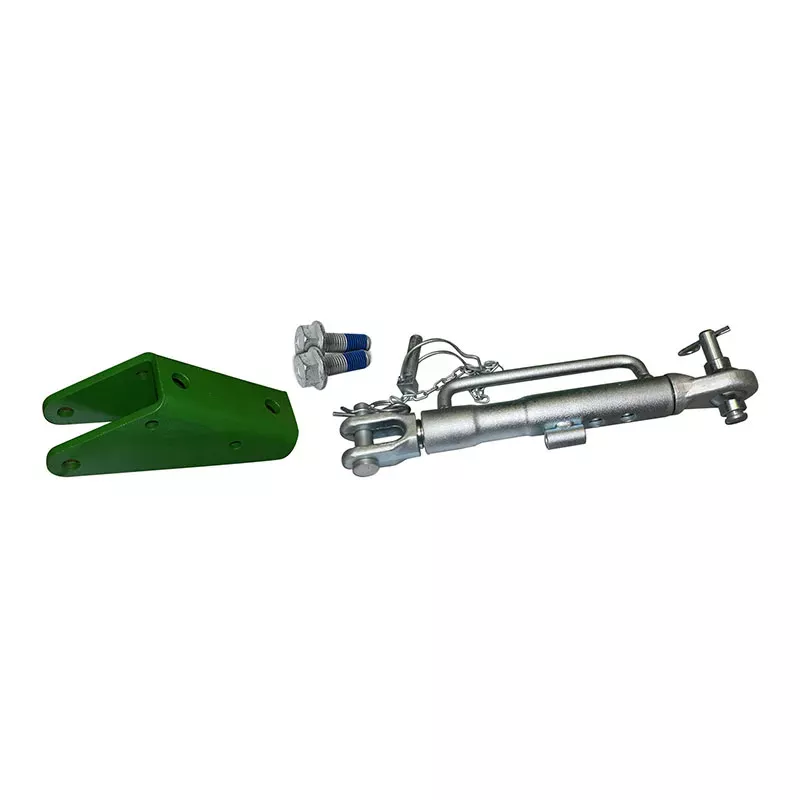
When your implement starts wandering during field work or won’t stay where you set it, chances are your stabilizer system is worn out. This stabilizer and bracket assembly is what keeps your John Deere tractor’s 3-point hitch implements properly aligned and stable during field operations, preventing the side-to-side movement that can affect implement performance and wear out your hitch components prematurely. When stabilizers get worn or damaged, your implements start wandering and won’t stay where you set them, leading to uneven field work and unnecessary stress on your tractor’s lifting system.
What You’re Getting
- Complete stabilizer and bracket assembly for easy installation and proper fit
- Heavy-duty construction handles the stress of implement operation under load
- Durable materials resist wear from constant adjustment and field conditions
- Direct replacement that mounts using existing bolt holes and connections
- Adjustable system lets you fine-tune for different implement sizes
Built for Real Farm Work
Whether you’re running your John Deere 6420 with a heavy cultivator that needs to stay perfectly straight, using your 6630 for precision planting where implement alignment affects seed placement, or operating a 6130M with implements that require exact positioning for quality field work, this stabilizer assembly keeps everything where it should be. It’s especially important for operations that do precision agriculture – where implement drift can affect plant spacing, chemical application rates, or tillage depth. Perfect for dairy operations using manure applicators, grain farms with precision planters, or custom operators who need consistent, professional results.
Made to Last
This stabilizer assembly is engineered to handle the constant stress and adjustment that 3-point hitch systems experience during normal farm operations. The bracket provides secure mounting that won’t work loose from vibration, while the stabilizer mechanism maintains proper implement positioning even when working on uneven ground or making tight turns. It’s designed to resist the wear that comes from frequent adjustment and the side loads that implements create during operation.
Installation Notes
Installation typically involves removing the old stabilizer components and mounting the new assembly using existing bolt holes and connections. Make sure to adjust the stabilizer properly for your implement’s width and weight – too loose and the implement will wander, too tight and you’ll stress the hitch components unnecessarily. Test the adjustment with your implement attached to ensure smooth operation through the full range of hitch movement.